Introduction
Adding icons to your desktop can greatly enhance productivity by allowing quick access to applications, files, and websites. Whether you are using a Windows computer or a macOS device, desktop shortcuts can streamline your workflow and keep your most-used tools within easy reach. This blog post will walk you through the process of adding and customizing desktop icons on both systems, along with tips for efficiently organizing your desktop to minimize clutter. Let’s dive into the details and get your desktop set up just the way you like it.
Adding Icons on Windows
Understanding Desktop Shortcuts
Desktop shortcuts are links to programs, files, folders, or websites. They are not the actual programs or files, but rather convenient access points that save you from digging through directories. When you double-click a shortcut, it launches the corresponding program or opens the associated file or folder.
Adding Icons from the Start Menu
- Click the Start button.
- Locate the application you want to create a shortcut for.
- Right-click the application and hover over More.
- Select Open file location.
- A File Explorer window will appear. Right-click the application icon.
- Choose Send to > Desktop (create shortcut).
By following these steps, you can create a desktop icon linked to the application, making it easily accessible.
Creating Custom Shortcuts
To create custom shortcuts for specific files or folders:
- Right-click on the desktop and select New > Shortcut.
- In the Create Shortcut window, click Browse to locate the file or folder.
- Select the file or folder and click Next.
- Name your shortcut and click Finish.
This method is useful for quickly accessing frequently used files or folders directly from your desktop.
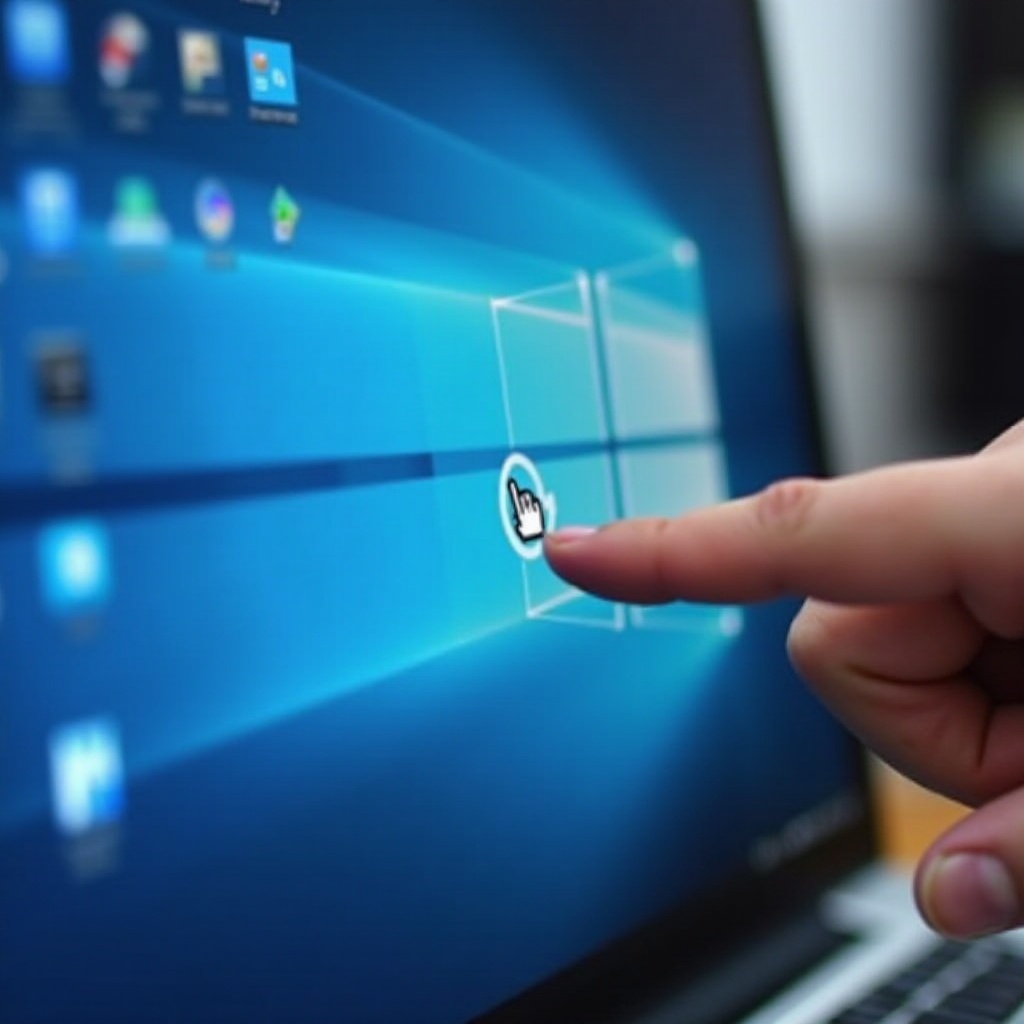
Using Drag and Drop from File Explorer
Another way to add icons is by dragging and dropping items:
- Open File Explorer.
- Navigate to the desired file, folder, or application.
- Click and hold the item, then drag it to the desktop.
- Release the mouse button to create a shortcut.
This drag-and-drop method is straightforward and convenient for adding multiple desktop icons quickly.
Adding Icons on macOS
Just as with Windows, adding icons to your macOS desktop is a simple process that can greatly improve your access to important applications and files.
Finder Methods for Adding Applications
On macOS, Finder is your main tool for managing applications and files. To add an application to your desktop:
- Open Finder.
- In the Applications folder, locate the desired application.
- Click and drag the application to the desktop.
Creating Alias Shortcuts
Aliases are macOS shortcuts providing quick access without duplicating files. To create an alias:
- Open Finder.
- Navigate to the file or folder.
- Right-click and select Make Alias.
- Drag the alias to your desktop.
Using aliases helps keep your system organized and avoids unnecessary file duplication.
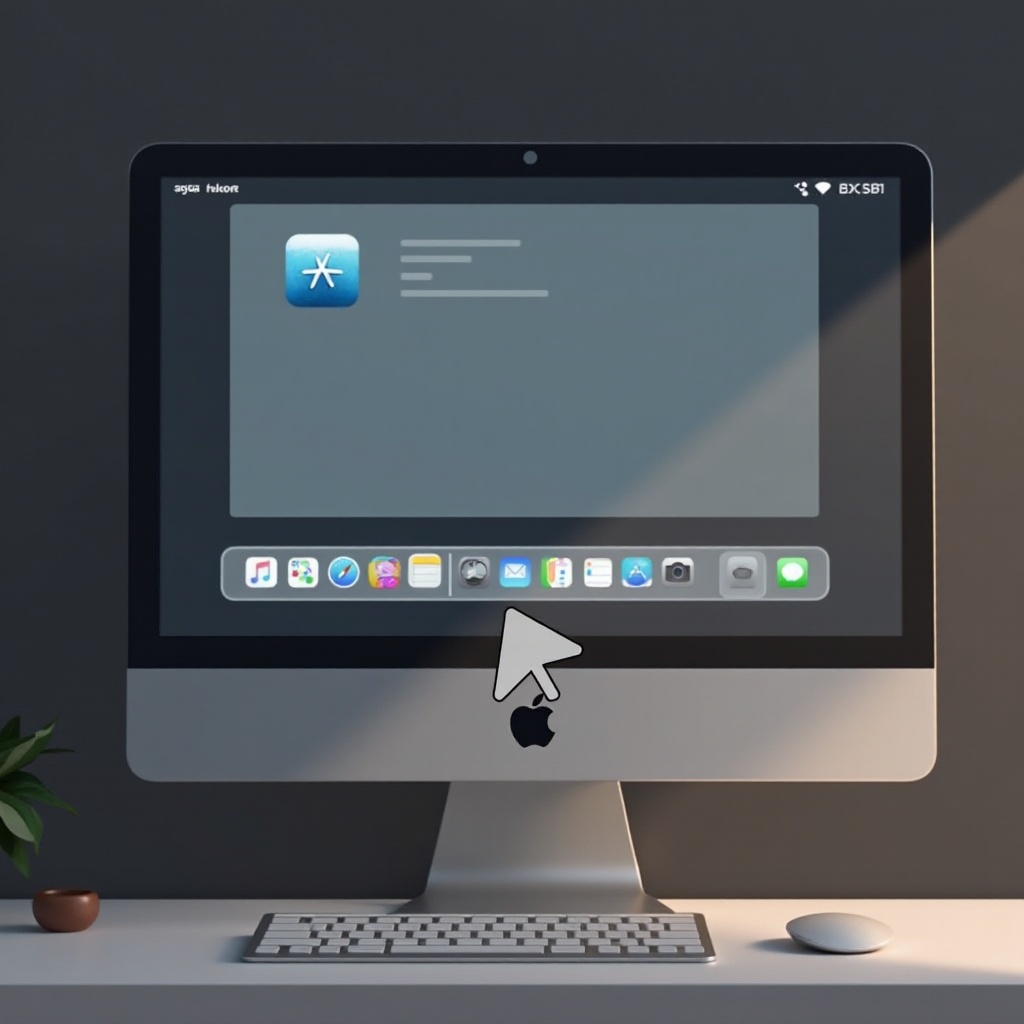
Organizing Icons Using the Dock
The Dock can store frequently used applications, providing quick access without cluttering the desktop:
- Open Finder and locate the application.
- Drag the application to the Dock.
Applications in the Dock remain easily accessible, leaving your desktop clean for other icons.
Changing Icon Images for Better Customization
For a personalized touch, you can customize desktop icon images:
- Right-click the application or folder and select Get Info.
- Copy your desired icon image.
- Click the current icon in the Get Info window.
- Paste the new image (Cmd + V).
This simple customization trick can make your desktop visually appealing and more identifiable.
Organizing and Customizing Desktop Icons
After adding your icons, maintaining an organized and clutter-free desktop is important for efficiency.
Grouping Icons with Folders
To organize related shortcuts into folders:
- Right-click on the desktop and choose New > Folder.
- Name the folder based on the category.
- Drag related icons into the folder.
grouping icons reduces visual clutter and keeps related items together.
Aligning Icons to Grid
Aligning icons to the grid keeps them neatly lined up:
- Right-click the desktop and select View.
- Ensure Auto-arrange icons and Align icons to grid are checked.
This feature ensures your desktop icons remain orderly.
Using Third-party Tools for Desktop Management
Several third-party applications offer additional features for desktop management:
- Fences: This application helps you organize icons into shaded areas on your desktop.
- ObjectDock: Improves the Dock experience, providing a sleek and customizable interface.
These tools enhance desktop management beyond the built-in Windows and macOS features.
Best Practices for Keeping Desktop Tidy
To maintain a tidy desktop:
- Regularly review and remove unnecessary shortcuts.
- Organize icons into categorized folders.
- Utilize the Dock (macOS) or taskbar (Windows) for frequently used applications.
A tidy desktop improves focus and efficiency, allowing you to find what you need quickly.
Conclusion
Adding icons to your desktop on both Windows and macOS is straightforward and highly useful for improving workflow efficiency. Whether you are creating shortcuts from the Start Menu, dragging and dropping from File Explorer, using Finder methods, or making aliases, these steps will help you customize your desktop perfectly. Remember to keep your desktop organized to maintain productivity and focus.
Frequently Asked Questions
How do I remove icons from my desktop?
To remove icons, simply right-click the icon and select **Delete** on Windows or **Move to Bin** on macOS. This action removes the shortcut without affecting the actual file or application.
Can I create a desktop shortcut for a website?
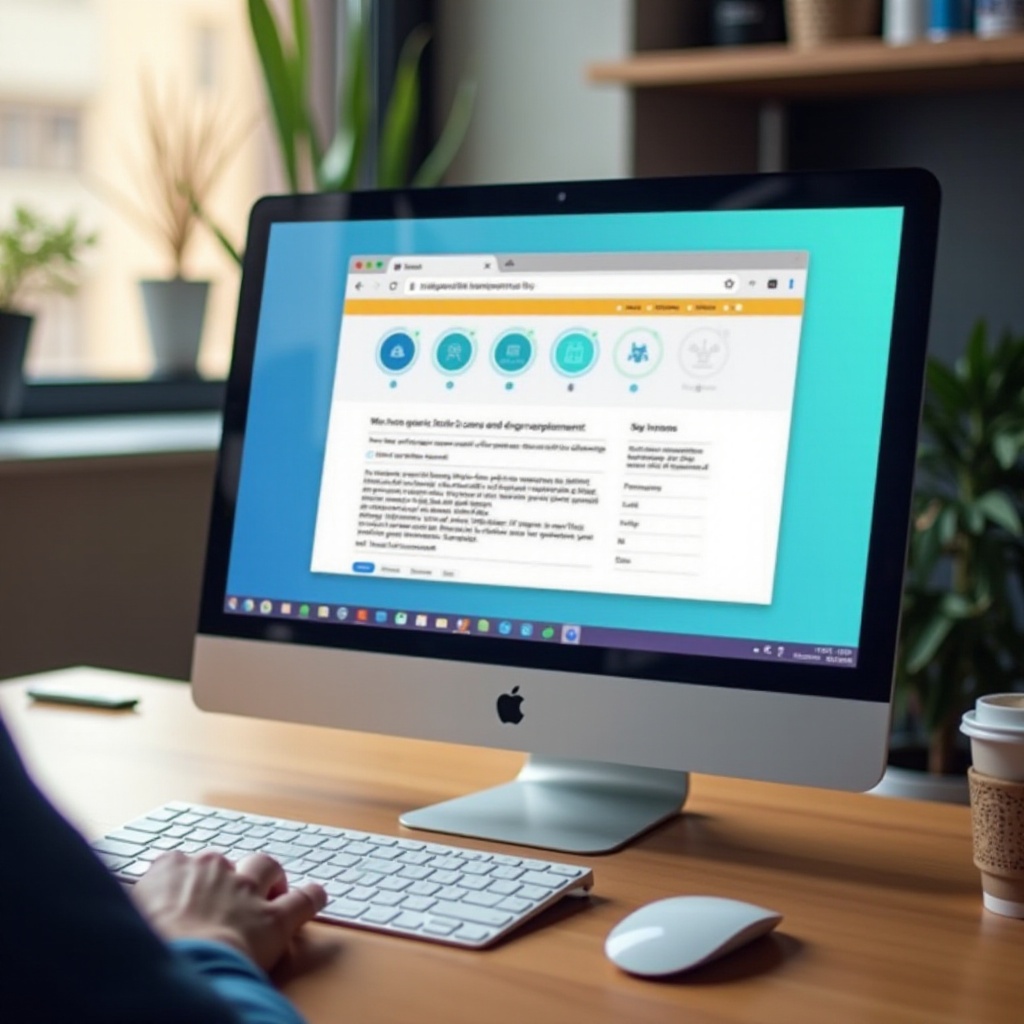
Yes. On Windows, open the website, drag the URL from the address bar and drop it on your desktop. On macOS, do the same by dragging the URL from Safari’s address bar to the desktop.
How do I restore default desktop icons?
For Windows, right-click the desktop, select **Personalize** > **Themes** > **Desktop icon settings**, and choose **Restore Default**. On macOS, use **Finder** to place common applications back on the desktop manually.