Introduction
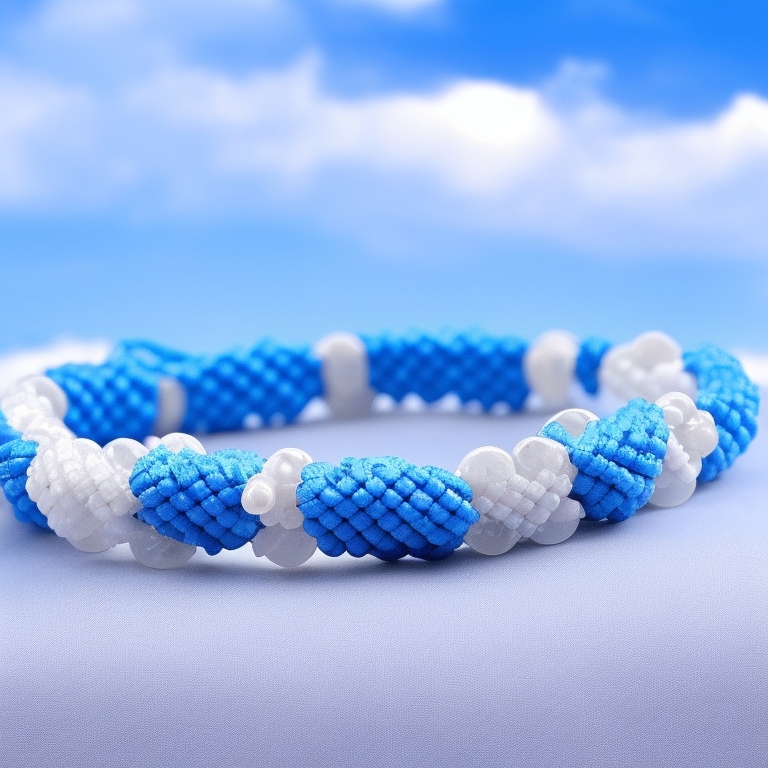
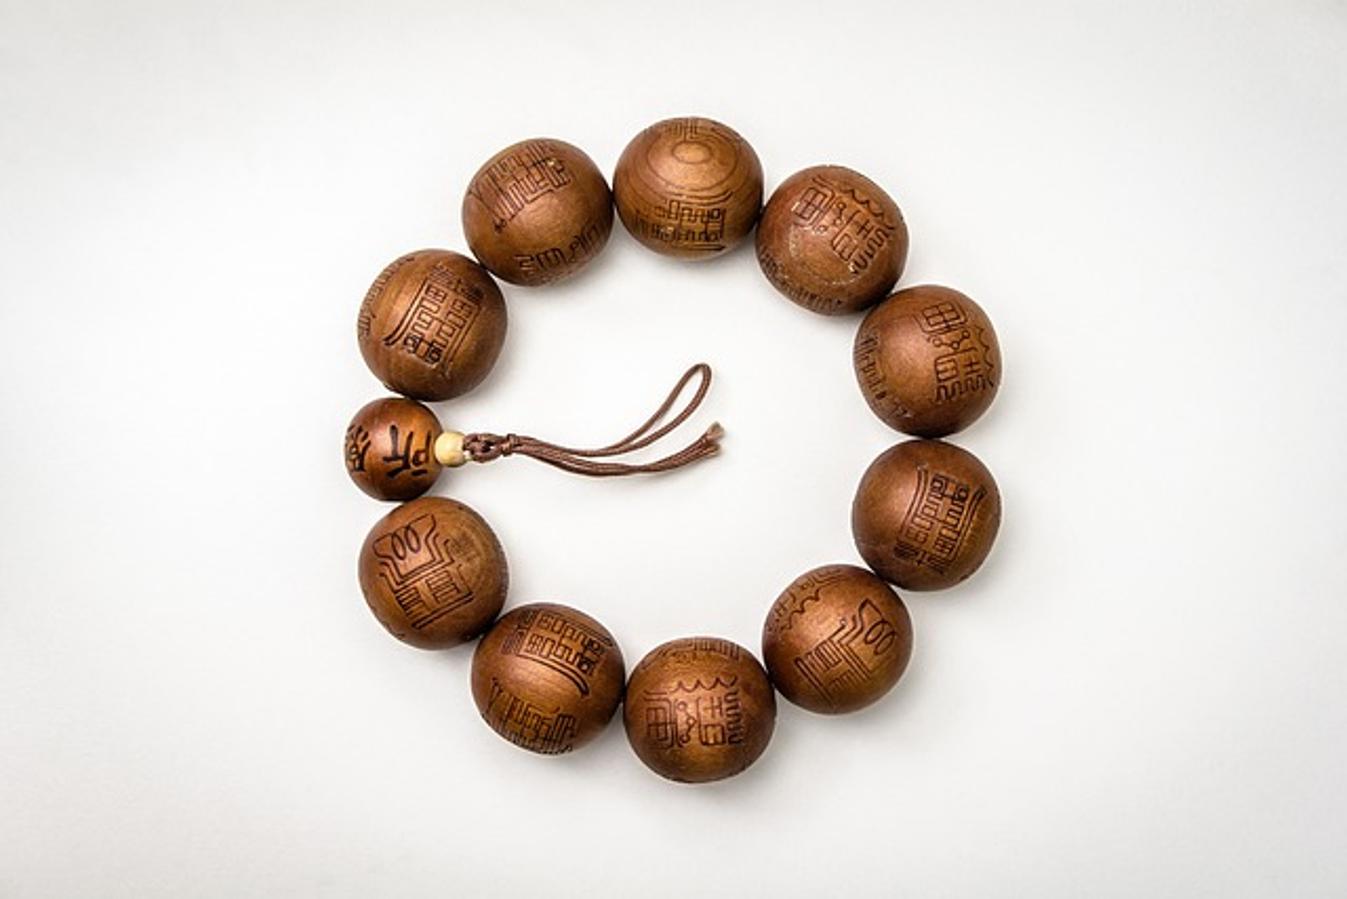
Crafting your accessories can be a rewarding and creative hobby. One of the most fulfilling projects is making corded bracelets with beads. These bracelets are versatile, stylish, and can be tailored to reflect your personality and preferences. In this guide, you’ll find everything you need to know about creating beautiful beaded bracelets from scratch. We’ll walk you through the essential materials, detailed instructions, and tips for avoiding common mistakes. So, let’s get started on this creative journey!

Materials and Tools Needed
Before you dive into creating your bracelet, gather all the necessary materials and tools. Here’s a list to get you started:
- Beads: Choose from various types such as glass, wooden, ceramic, or plastic beads.
- Cord: Opt for durable materials like nylon, leather, or waxed cotton.
- Scissors: Sharp enough to cut through the cord cleanly.
- Tape Measure or Ruler: For precise measurements.
- Beading Needle: Optional, but useful for threading small beads.
- Glue: A small amount for securing knots if needed.
- Tape or Clamps: To hold your work in place as you bead.
Having all these materials ready at your workstation will make the crafting process smooth and enjoyable.

Step-by-Step Instructions
Creating corded bracelets with beads might seem daunting at first, but with these step-by-step instructions, you’ll master it in no time.
Selecting Your Beads and Cord
- Choose Your Beads: Select beads that match your desired aesthetic. Consider size, color, and texture.
- Pick the Cord: Ensure that the cord fits through the bead holes. Stretchy cords work well for easy wearability.
Preparing Your Workstation
- Set Up: Clear a flat surface. Use tape or clamps to secure one end of your cord to the table.
- Measure the Cord: Cut the cord to your desired bracelet length, adding extra for knots and finishing.
Starting Your Bracelet: Creating the First Knot
- First Knot: Tie a knot at one end of the cord to prevent beads from slipping.
- Double Knot: For extra security, consider tying a double knot.
Adding Beads to the Cord
- Threading Beads: Using your beading needle or hands, thread beads onto the cord.
- Patterning: Create a pattern or randomly place beads until you reach the desired length.
Crafting Decorative Knots
- Knot Placement: Incorporate knots between beads for a decorative touch.
- Secure Knots: Make sure the knots are tight and secure to keep beads in place.
Finishing Your Bracelet: Securing the Ends
- Final Knot: Tie a strong knot at the end to secure the beads.
- Glue: Apply a small amount of glue to the knot for extra security.
- Trim Excess Cord: With scissors, cut off any extra cord beyond the knot.
Now that your bracelet is complete, it’s time to explore creative ways to make each piece unique.
Design Inspirations and Personalization
Once you’ve mastered the basics of creating a corded bracelet with beads, it’s time to explore different designs and personalization techniques. This section will help you add unique touches that make your bracelets stand out.
Popular Patterns and Color Schemes
- Patterns: Classic patterns like spiral or alternating colors are timeless.
- Color Schemes: Combine complementary colors or stick to monochromatic schemes for different vibes.
Ideas for Personalized Bracelets
- Initials or Names: Use alphabet beads to spell out names or initials.
- Charms: Add charms that have special meaning to you or the intended wearer.
With these design ideas, each bracelet you make can be a meaningful and personalized accessory.

Troubleshooting Common Issues
Even the best crafters encounter issues. Here’s how to tackle some common problems:
Fixing Uneven Bead Placement
- Check Spacing: Ensure beads are evenly spaced by adjusting them as you go.
- Backtrack: If you notice uneven placement, remove beads and readjust.
Adjusting Cord Tension
- Consistent Tension: Keep the cord tension consistent to avoid loose or overly tight sections.
- Practice: With more practice, maintaining tension will become second nature.
Conclusion
Making corded bracelets with beads is a delightful and fulfilling hobby. By following the detailed steps and design inspirations in this guide, you’ll be well on your way to creating stunning bracelets that showcase your style and creativity. Happy crafting!
Frequently Asked Questions
How do I make sure my bracelet fits correctly?
Measure your wrist and add extra length for knots and bead spacing to ensure a comfortable fit.
What type of cord is best for beaded bracelets?
Nylon, leather, and waxed cotton are durable options that work well with a variety of beads.
How do I prevent beads from slipping off the cord?
Use knots and a small amount of glue at each end of the bracelet to secure the beads in place.
