Woven beaded bracelets are a timeless, stylish accessory that you can create yourself with a little patience and some basic materials. This guide will take you through the process of making your own woven beaded bracelets from start to finish. Whether you’re new to crafting or an experienced jewelry maker looking to try something new, you’ll find everything you need right here. So, let’s dive into the world of bead weaving and explore the artistry and technique involved in creating beautiful woven beaded bracelets.
Before you start weaving your beaded bracelet, you need to gather all the necessary materials. Ensuring you have everything prepared will make the process smoother and more enjoyable. Here’s a list of what you’ll need:
- Beads: Choose from seed beads, glass beads, or gemstone beads, depending on the look you want to achieve.
- Thread: Nylon or polyester beading thread is ideal due to its strength and flexibility.
- Beading loom: A small, portable beading loom will help keep your beads aligned and the bracelet uniform.
- Needles: Beading needles are thin and fit easily through small beads.
- Scissors: Sharp scissors will be necessary for cutting your thread.
- Clasps: These are essential for finishing off your bracelet so it can be easily worn.
- Wax: Beading wax can help to prevent your thread from tangling.
- Bead Mat: This will help keep your beads from rolling away.
Having these materials ready before starting will make the entire process more manageable and enjoyable.
Now that you have your materials, it’s time to start making your woven beaded bracelet. Follow these steps to guide you through the process:
Step 1: Choose Your Design
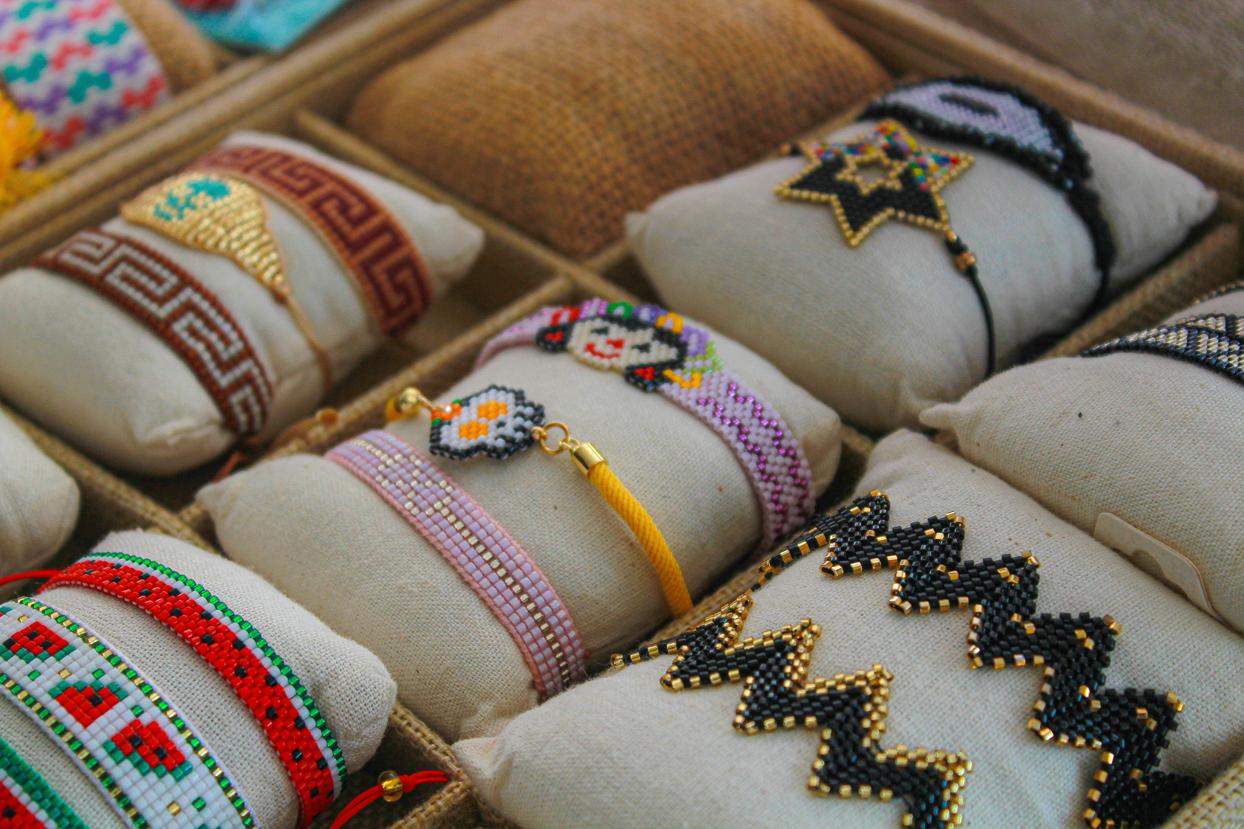
The first step in making a woven beaded bracelet is to decide on your design. Consider the patterns and colors you wish to incorporate. Whether it’s a simple striped pattern or a complex geometric design, having a clear idea will make the process smoother. You can sketch your design on paper before beginning.

Step 2: Preparing Your Workspace
A clean and organized workspace will make the weaving process much easier. Lay out your bead mat, and organize your beads by color or type. Make sure you have good lighting to see the small beads clearly. Keeping everything organized and within arm’s reach prevents disruption during the crafting process.
Step 3: Threading the Loom
- Set Up the Loom: Follow the manufacturer’s instructions to set up your loom. Usually, this involves securing your loom threads, also known as warp threads, tightly across the loom.
- Thread Your Needle: Use a length of about 2 feet for your thread, and wax it lightly to prevent tangling. Insert it through your beading needle.

Step 4: Weaving Your Beads
- Start Weaving: Begin by picking up the beads for your first row with your needle, fitting them into the spaces between your warp threads.
- Pass the Needle: Pass your needle back through the beads, but this time above the warp threads. This secures the beads in place.
- Repeat the Process: Continue picking up beads for each new row and passing through them as described. Follow your design as you go.
- Check Tension: Make sure your beads are snug and the thread is tight but not overly so, which can distort the shape.

Step 5: Finishing Off
- Secure the Last Row: Once you’ve completed your design, make sure the last row of beads is tightly secured.
- Tie Knots: Carefully tie off your thread by weaving it back through a few rows of beads and then making a knot.
- Attach Clasps: Use your crimp beads and clasps to secure each end of the bracelet. This not only finishes off the bracelet but also makes it easy to wear.
- Trim Excess Thread: Lastly, trim any remaining thread close to the knots to give your bracelet a neat finish.
- Always wax your thread to reduce tangling.
- Use a bead stopper or tape to prevent beads from falling off the loom.
- Regularly check your work for mistakes as it’s easier to fix them early.
Making woven beaded bracelets is a rewarding and creative pastime. By following this complete guide, you’ll be able to craft beautiful bracelets with ease. Whether for personal use or as gifts, handmade woven bracelets impart a personal touch that ready-made accessories just can’t match. Keep experimenting with different beads and patterns to find what you love best.
Frequently Asked Questions
What type of thread is best for woven beaded bracelets?
Nylon or polyester beading thread works best due to their strength and flexibility.
How do I fix mistakes while weaving?
Carefully unthread the beads involved in the mistake and re-thread them according to your design pattern.
Can I sell my woven beaded bracelets online?
Yes, woven beaded bracelets can be sold online. Platforms like Etsy are great for selling handmade jewelry.
